
How to Choose an Elevator Guide Rail Bracket?
Choosing an Elevator Guide Rail Bracket is a small decision with real consequences for alignment, vibration, and long-term maintenance. A bracket must suit the rail profile, building structure, load conditions, and installation layout. A mismatch may show up as uneven clearances, difficult adjustment, or movement that technicians must investigate later.
John Koshak is an elevator safety specialist, but no source was provided to verify a verbatim quotation from him on guide rail brackets. I will not invent one. The practical principle is clear: select components against the elevator design and verified manufacturer requirements, not appearance alone. Check the bracket material, dimensions, fixing method, adjustment range, and compatibility with the specified rail. Then confirm that the supporting wall or steelwork can accept the planned attachment. Details matter.
This guide explains how to compare bracket types, assess structural and environmental conditions, and review installation constraints before purchasing. It also highlights questions to raise with the elevator designer or supplier, such as whether the bracket permits accurate rail alignment and remains accessible for inspection. A neat fit is not enough. Real installations can expose assumptions that drawings miss, so measurements and site conditions deserve a second look. The goal is a bracket choice that supports the approved design and makes precise installation practical.
Understanding the Function of an Elevator Guide Rail Bracket
How to Choose an Elevator Guide Rail Bracket?
Understanding the Function of an Elevator Guide Rail Bracket
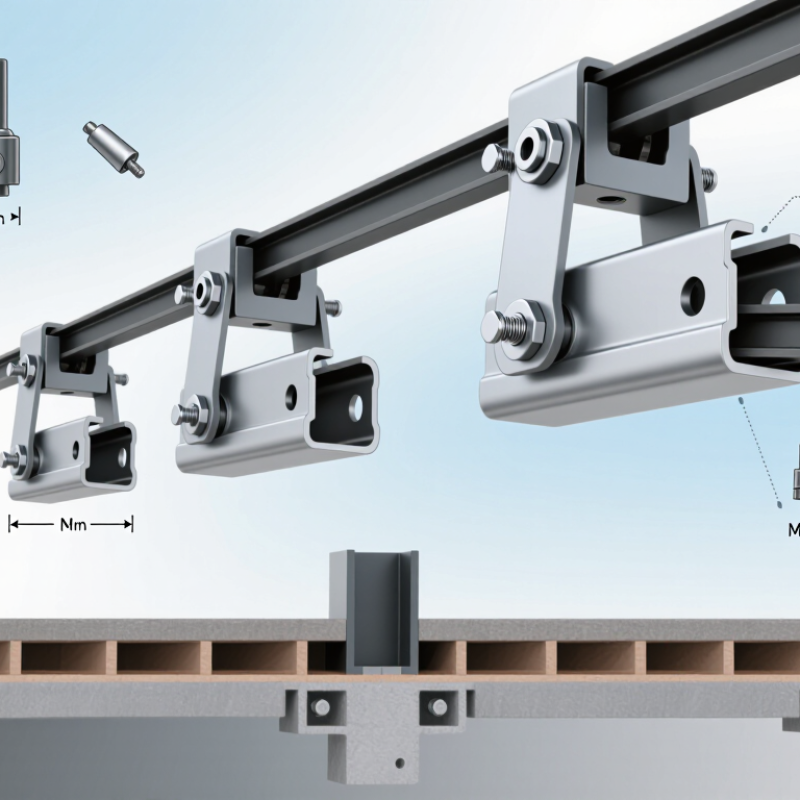
An elevator guide rail bracket connects a guide rail to the hoistway structure. It helps keep the rail in the intended position as the elevator car and counterweight move. Small alignment errors matter. A rail that shifts or sits out of plumb can contribute to uneven clearances, vibration, or noise. The bracket is not a decorative fitting; it is part of the system that maintains a stable path.
Brackets also transfer forces from the rails into the building structure. Their design must suit the rail profile, the mounting surface, and the loads specified for the elevator. Concrete and structural steel may require different anchoring details. There is no useful universal spacing rule: bracket locations and fasteners should follow the project drawings and applicable technical requirements. A bracket can look solid and still be poorly aligned. That is easy to overlook when attention is focused on the hardware itself.
During selection and installation, check that the bracket provides the required adjustment and that its connection is compatible with the rail and substrate. Qualified elevator professionals should verify alignment, fastening, and clearances during installation and inspection. In practice, the quietest result often depends on details that seem minor, such as consistent tightening and careful measurement. Those details deserve a second look.
| Selection Factor | What to Check | Why It Matters | Practical Guidance |
|---|---|---|---|
| Guide rail profile and dimensions | Rail type, dimensions, machined surfaces, and the bracket’s clamping or fastening arrangement. | The bracket must secure the rail without obstructing its working surfaces or interfering with rail joints. | Confirm compatibility with the rail specified for the lift. Do not select a bracket by appearance alone. |
| Bracket function | Whether the bracket is intended to fix the rail to the building structure and allow the adjustment required during installation. | Brackets support and position the rails, helping maintain alignment as the car and counterweight travel. | Choose a configuration that provides the required adjustment and locking method for the installation design. |
| Loads and structural capacity | Design loads, load direction, bracket capacity, fastener capacity, and the strength of the supporting structure. | Loads are transferred through the rail and bracket into the building structure; a weak connection can compromise the installation. | Use project calculations and manufacturer data. Do not infer a safe load rating from bracket dimensions or material thickness. |
| Support spacing | Specified distance between brackets, rail-joint locations, and any additional supports required by the design. | Support spacing affects rail deflection and the loads carried by individual brackets. | Follow the lift design and applicable installation instructions. There is no single spacing that suits every rail and building. |
| Building substrate and anchors | Concrete, structural steel, or another approved substrate; anchor type, embedment, edge distance, and installation conditions. | The bracket connection is only as reliable as the substrate and anchoring system supporting it. | Verify the substrate on site and use anchors approved for the specific material and design loads. |
| Adjustment and alignment | Available adjustment range, access for installation, and the method for setting rail plumb and alignment. | Accurate rail alignment helps provide a consistent running path and reduces unwanted contact or vibration. | Check that the bracket can be positioned and secured without forcing the rail out of alignment. |
| Material and environment | Base material, protective finish, corrosion exposure, and compatibility with the installation environment. | Moisture and corrosive conditions can damage unprotected components and connections over time. | Select a finish or material suitable for the site conditions and maintain compatibility with connected components. |
| Installation and inspection | Fastener access, tightening requirements, locking features, and inspection access after installation. | Correct installation helps prevent loosening and makes the connection easier to inspect and maintain. | Install and inspect according to the approved drawings and instructions; confirm fasteners are secure before operation. |
| Standards and project approval | Applicable local codes, approved lift drawings, component documentation, and project-specific requirements. | Requirements vary by jurisdiction and installation; a bracket must be suitable for the complete lift system. | Obtain approval from the responsible lift designer or qualified professional before procurement or installation. |
| Selection note: An elevator guide rail bracket is a structural connection component. Final selection, spacing, anchoring, and installation must be based on the approved lift design, verified site conditions, and applicable requirements. | |||